
前端 PDF 水印方案
场景:前端下载 pdf 文件的时候,需要加上水印,再反给用户下载
用到的库:pdf-lib (文档) @pdf-lib/fontkit
字体:github
方案目标:logo图 + 中文 + 英文 + 数字 => 透明水印
首先安装 pdf-lib: 它是前端创建和修改 PDF 文档的一个工具(默认不支持中文,需要加载自定义字体文件)
npm install --save pdf-lib
安装 @pdf-lib/fontkit:为 pdf-lib 加载自定义字体的工具
npm install --save @pdf-lib/fontkit
没有使用pdf.js的原因是因为:
会将 PDF 转成图片,无法选中
操作后 PDF 会变模糊
文档体积会变得异常大
实现:
首先我们的目标是在 PDF 文档中,加上一个带 logo 的,同时包含中文、英文、数字字符的透明水印,所以我们先来尝试着从本地加载一个文件,一步步搭建。
1. 获取 PDF 文件
本地:
// <input type="file" name="pdf" id="pdf-input">

let input = document.querySelector('#pdf-input');
input.onchange = onFileUpload;

// 上传文件
function onFileUpload(e) {
  let event = window.event || e;

  let file = event.target.files[0];
}
除了本地上传文件之外,我们也可以通过网络请求一个 PDF 回来,注意响应格式为 blob 。
网络:
var x = new XMLHttpRequest();
x.open("GET", url, true);
x.responseType = 'blob';
x.onload = function (e) {
  let file = x.response;
}
x.send();

// 获取直接转成 pdf-lib 需要的 arrayBuffer
// const fileBytes = await fetch(url).then(res => res.arrayBuffer())
2. 文字水印
在获取到 PDF 文件数据之后,我们通过 pdf-lib 提供的接口来对文档做修改。
// 修改文档
async function modifyPdf(file) {
  const pdfDoc = await PDFDocument.load(await file.arrayBuffer());

  // 加载内置字体
  const helveticaFont = await pdfDoc.embedFont(StandardFonts.Courier);

  // 获取文档所有页
  const pages = pdfDoc.getPages();

  // 文字渲染配置
  const drawTextParams = {
    lineHeight: 50,
    font: helveticaFont,
    size: 12,
    color: rgb(0.08, 0.08, 0.2),
    rotate: degrees(15),
    opacity: 0.5,
  };

  for (let i = 0; i < pages.length; i++) {
    const page = pages[i];

    // 获取当前页宽高
    const { width, height } = page.getSize();

    // 要渲染的文字内容
    let text = "water 121314";

    for (let ix = 1; ix < width; ix += 230) { // 水印横向间隔
      let lineNum = 0;
      for (let iy = 50; iy <= height; iy += 110) { // 水印纵向间隔
        lineNum++;

        page.drawText(text, {
          x: lineNum & 1 ? ix : ix + 70,
          y: iy,
          ...drawTextParams,
        });
      }
    }
  }
来看一下现在的效果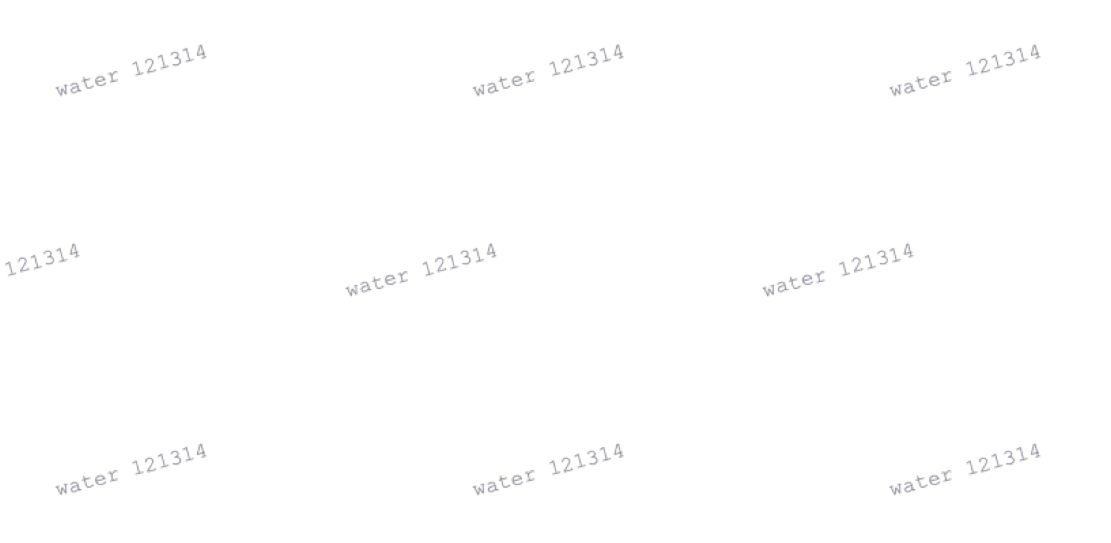
3. 加载本地 logo
在加载图片这块,我们最终想要的其实是图片的 Blob 数据,获取网图的话,这里就不做介绍了,下边主要着重介绍一下,如何通过 js 从本地加载一张图。
先贴上代码:
//  加载 logo blob 数据
~(function loadImg() {
  let img = new Image();
  img.src = "./water-logo.png";

  let canvas = document.createElement("canvas");
  let ctx = canvas.getContext("2d");

  img.crossOrigin = "";
  img.onload = function () {
    canvas.width = this.width;
    canvas.height = this.height;

    ctx.fillStyle = "rgba(255, 255, 255, 1)";
    ctx.fillRect(0, 0, canvas.width, canvas.height);

    ctx.drawImage(this, 0, 0, this.width, this.height);
    canvas.toBlob(
      function (blob) {
        imgBytes = blob;  // 保存数据到 imgBytes 中
      },
      "image/jpeg",
      1
    ); // 参数为输出质量
  };
})();
首先通过一个自执行函数,在初期就自动加载 logo 数据,当然我们也可以根据实际情况做相应的优化。
整体的思路就是,首先通过 image 元素来加载本地资源,再将 img 渲染到 canvas 中,再通过 canvas 的 toBlob 来得到我们想要的数据。
在这块我们需要注意两行代码:
ctx.fillStyle = "rgba(255, 255, 255, 1)";
ctx.fillRect(0, 0, canvas.width, canvas.height);
如果我们不加这两行代码的话,同时本地图片还是透明图,最后我们得到的数据将会是一个黑色的方块。所以我们需要在 drawImage 之前,用白色填充一下 canvas 。
4. 渲染 logo
在渲染 logo 图片到 PDF 文档上之前,我们还需要和加载字体类似的,把图片数据也挂载到 pdf-lib 创建的文档对象上(pdfDoc),其中 imgBytes 是我们已经加载好的图片数据。
let _img = await pdfDoc.embedJpg(await imgBytes.arrayBuffer());挂载完之后,做一些个性化的配置
page.drawImage(_img, {
  x: lineNum & 1 ? ix - 18 : ix + 70 - 18, // 奇偶行的坐标
  y: iy - 8,
  width: 15,
  height: 15,
  opacity: 0.5,
});
5. 查看文档
这一步的思路就是先通过 pdf-lib 提供的 save 方法,得到最后的文档数据,将数据转成 Blob,最后通过 a 标签打开查看。
// 保存文档 Serialize the PDFDocument to bytes (a Uint8Array)
  const pdfBytes = await pdfDoc.save();

  let blobData = new Blob([pdfBytes], { type: "application/pdf;Base64" });

  // 新标签页预览
  let a = document.createElement("a");
  a.target = "_blank";
  a.href = window.URL.createObjectURL(blobData);
  document.body.appendChild(a);
  a.click();
  document.body.removeChild(a);
到目前的效果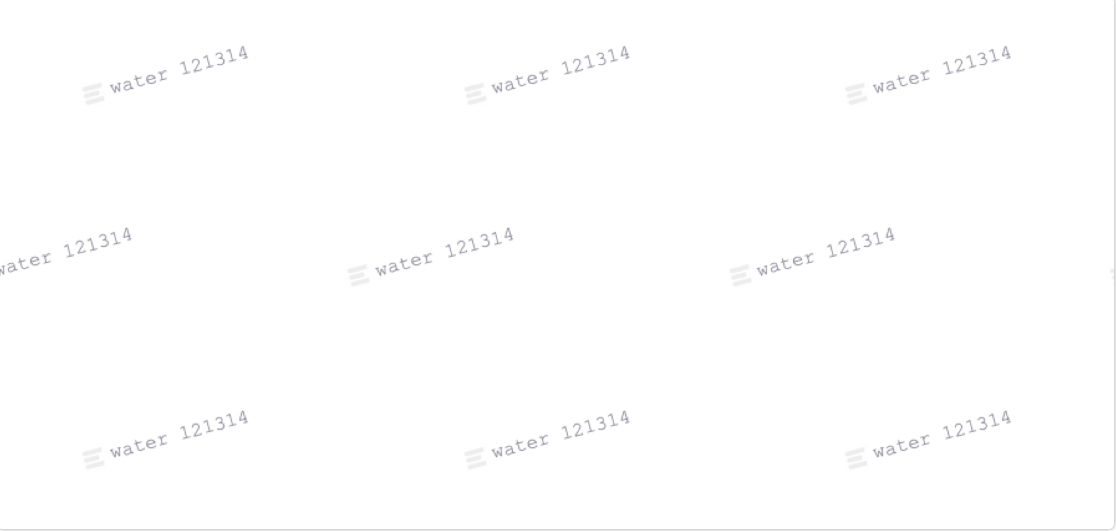
6. 中文字体
由于默认的 pdf-lib 是不支持渲染中文的Uncaught (in promise) Error: WinAnsi cannot encode "水" (0x6c34)
所以我们需要加载自定义字体,但是常规的字体文件都会很大,为了使用,需要将字体文件压缩一下,压缩好的字体在文档头部,包含空格和基础的3500字符。
压缩字体用到的是 gulp-fontmin 命令行工具,不是客户端。具体压缩方法,可自行搜索。
在拿到字体之后(ttf文件),将字体文件上传到网上,再拿到其 arrayBuffer 数据。之后再结合 pdf-lib 的文档对象,对字体进行注册和挂载。同时记得将文字渲染的字体配置改过来。
// 加载自定义字体
const url = 'https://xxx.xxx/xxxx';
const fontBytes = await fetch(url).then((res) => res.arrayBuffer());

// 自定义字体挂载
pdfDoc.registerFontkit(fontkit)
const customFont = await pdfDoc.embedFont(fontBytes)

// 文字渲染配置
  const drawTextParams = {
    lineHeight: 50,
    font: customFont,  // 改字体配置
    size: 12,
    color: rgb(0.08, 0.08, 0.2),
    rotate: degrees(15),
    opacity: 0.5,
  };
所以到现在的效果
7. 完整代码
import { PDFDocument, StandardFonts, rgb, degrees } from "pdf-lib";
import fontkit from "@pdf-lib/fontkit";

let input = document.querySelector("#pdf-input");
let imgBytes;

input.onchange = onFileUpload;

// 上传文件
function onFileUpload(e) {
  let event = window.event || e;

  let file = event.target.files[0];
  console.log(file);
  if (file.size) {
    modifyPdf(file);
  }
}

// 修改文档
async function modifyPdf(file) {
  const pdfDoc = await PDFDocument.load(await file.arrayBuffer());

  // 加载内置字体
  const helveticaFont = await pdfDoc.embedFont(StandardFonts.Courier);

  // 加载自定义字体
  const url = 'pttps://xxx.xxx/xxx';
  const fontBytes = await fetch(url).then((res) => res.arrayBuffer());

  // 自定义字体挂载
  pdfDoc.registerFontkit(fontkit)
  const customFont = await pdfDoc.embedFont(fontBytes)

  // 获取文档所有页
  const pages = pdfDoc.getPages();

  // 文字渲染配置
  const drawTextParams = {
    lineHeight: 50,
    font: customFont,
    size: 12,
    color: rgb(0.08, 0.08, 0.2),
    rotate: degrees(15),
    opacity: 0.5,
  };

  let _img = await pdfDoc.embedJpg(await imgBytes.arrayBuffer());

  for (let i = 0; i < pages.length; i++) {
    const page = pages[i];

    // 获取当前页宽高
    const { width, height } = page.getSize();

    // 要渲染的文字内容
    let text = "水印 water 121314";

    for (let ix = 1; ix < width; ix += 230) { // 水印横向间隔
      let lineNum = 0;
      for (let iy = 50; iy <= height; iy += 110) { // 水印纵向间隔
        lineNum++;
        page.drawImage(_img, {
          x: lineNum & 1 ? ix - 18 : ix + 70 - 18,
          y: iy - 8,
          width: 15,
          height: 15,
          opacity: 0.7,
        });
        page.drawText(text, {
          x: lineNum & 1 ? ix : ix + 70,
          y: iy,
          ...drawTextParams,
        });
      }
    }
  }

  // 保存文档 Serialize the PDFDocument to bytes (a Uint8Array)
  const pdfBytes = await pdfDoc.save();

  let blobData = new Blob([pdfBytes], { type: "application/pdf;Base64" });

  // 新标签页预览
  let a = document.createElement("a");
  a.target = "_blank";
  a.href = window.URL.createObjectURL(blobData);
  document.body.appendChild(a);
  a.click();
  document.body.removeChild(a);
}

//  加载 logo blob 数据
~(function loadImg() {
  let img = new Image();
  img.src = "./water-logo.png";

  let canvas = document.createElement("canvas");
  let ctx = canvas.getContext("2d");

  img.crossOrigin = "";
  img.onload = function () {
    canvas.width = this.width;
    canvas.height = this.height;

    ctx.fillStyle = "rgba(255, 255, 255, 1)";
    ctx.fillRect(0, 0, canvas.width, canvas.height);

    ctx.drawImage(this, 0, 0, this.width, this.height);
    canvas.toBlob(
      function (blob) {
        imgBytes = blob;
      },
      "image/jpeg",
      1
    ); // 参数为输出质量
  };
})();
8. 不完美的地方
当前方案虽然可以实现在前端为 PDF 加水印,但是由于时间关系,有些瑕疵还需要再进一步探索解决 💪:
水印是浮在原文本之上的,可以被选中
logo 的背景虽然不注意看不到,但是实际上还未完全透明 🤔
